
 Todays DIY is the second mending tutorial I’m sharing as part of a Mending Challenge collaboration with Fabscrap that’s taking place right now! To enter the challenge, mend any personal item using Fabscrap materials or a mutilated garment. Share you work on instagram and tag it with #MRxFabMending. Complete rules for entry here.
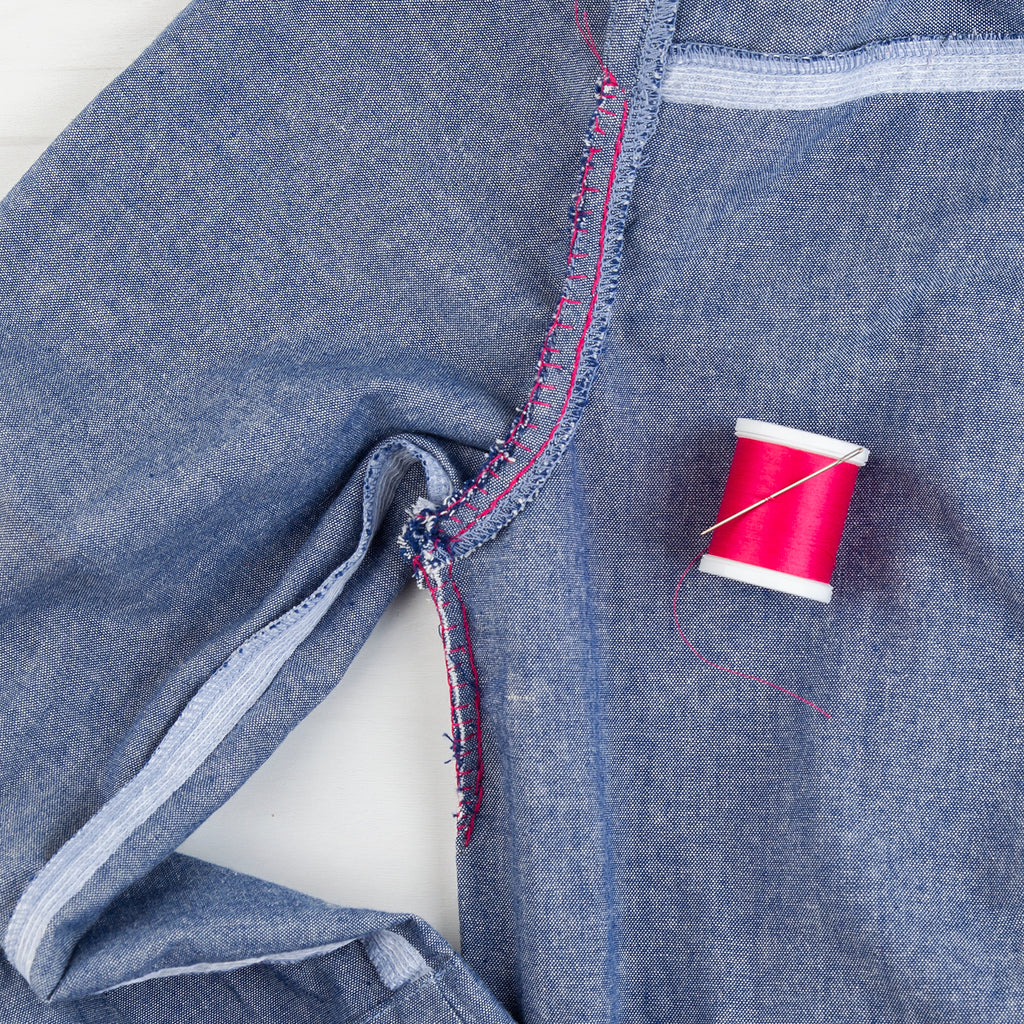
Torn seams are so common, so I hope this hand-sewing tutorial is a handy, useful guide you can put to work right away. While this can also be done with a sewing machine, I opted for a hand sewing technique here to make the project accessible to everyone. Now, I challenge you to take it a step further. How could you use this tutorial as a jumping off point for your creative mending projects? How could you push the technique- add a patch, reverse engineer a garment with exposed seams, take in a too-big shirt to tailor the fit?
Materials
Garment to repair (I used a mutilated garment from Fabscrap, more info here on what this is & how to get one if you are in the NY area.)
Sewing pins
Sewing needle
Sewing thread
Seam Sealant optional (like fray check)
Instructions
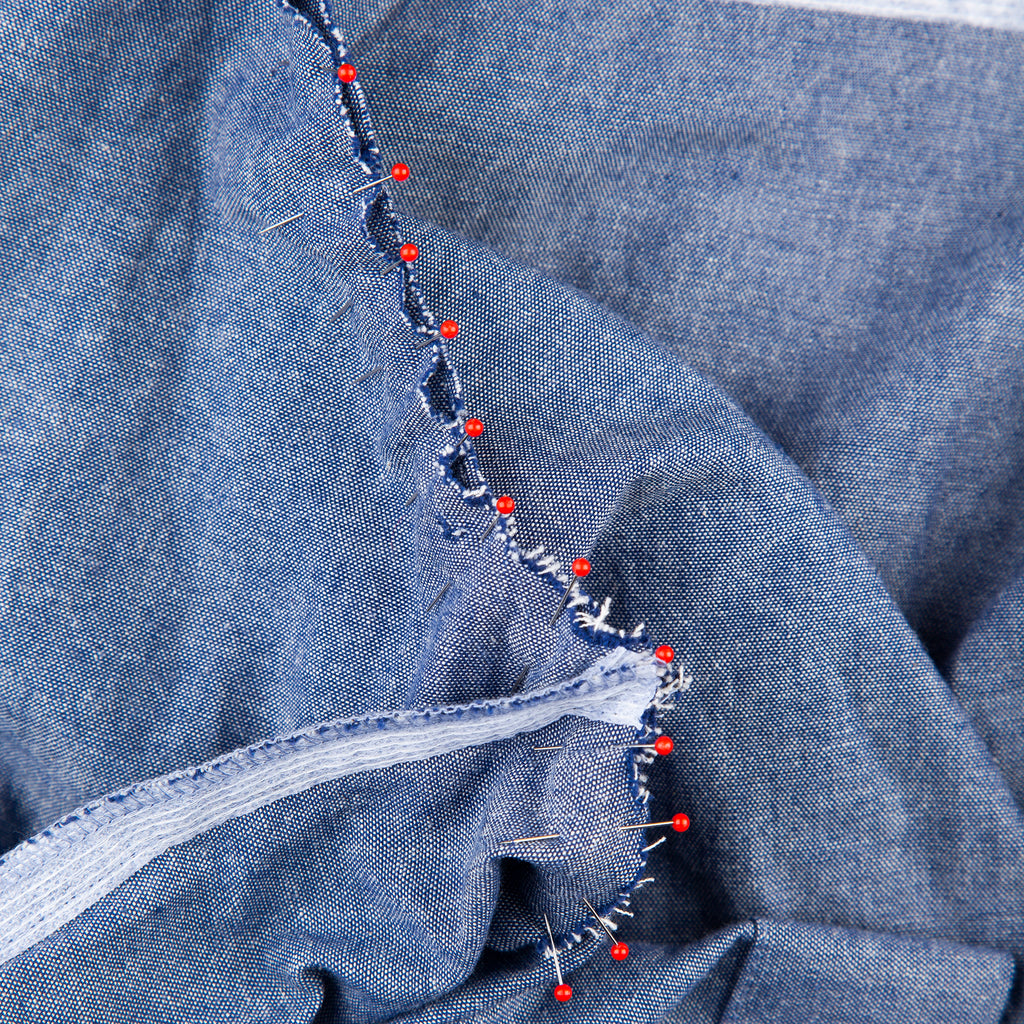 1. Prep the rip. Turn the garment inside out and pin the torn edges together. Match up any preexisting seams, and pin the edges together. If the tear doesn’t seem to line up use more pins. Start pinning from the center and outer edges, working in.
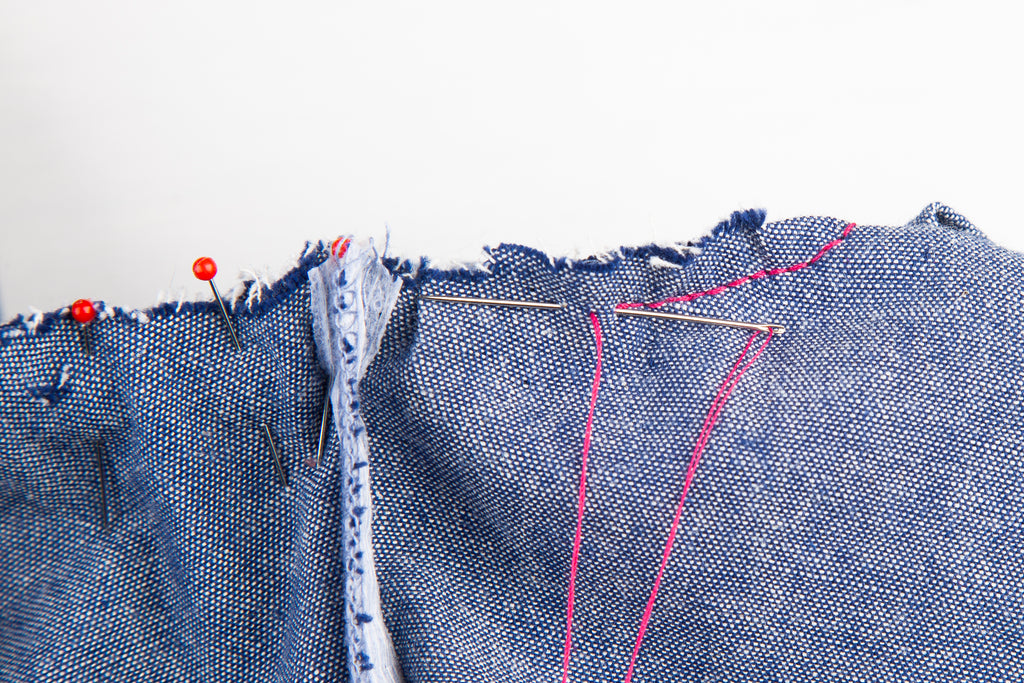 2. Stitch and seal edges. With a sewing needle and sewing thread tie a knot on doubled over thread. Use the backstitch about ¼” from the raw edge, removing pins as you sew. To backstitch, come up from the reverse side of the seam and go forward a short stitch length. Come back up a stitch length ahead of the previous stitch. Drop the needle back down into the previous stitch, angle the needle forward a stitch length away and pull through. Follow this pattern until you reach the end of the tear. Tie a few knots and cut your thread leaving a ½” tail.
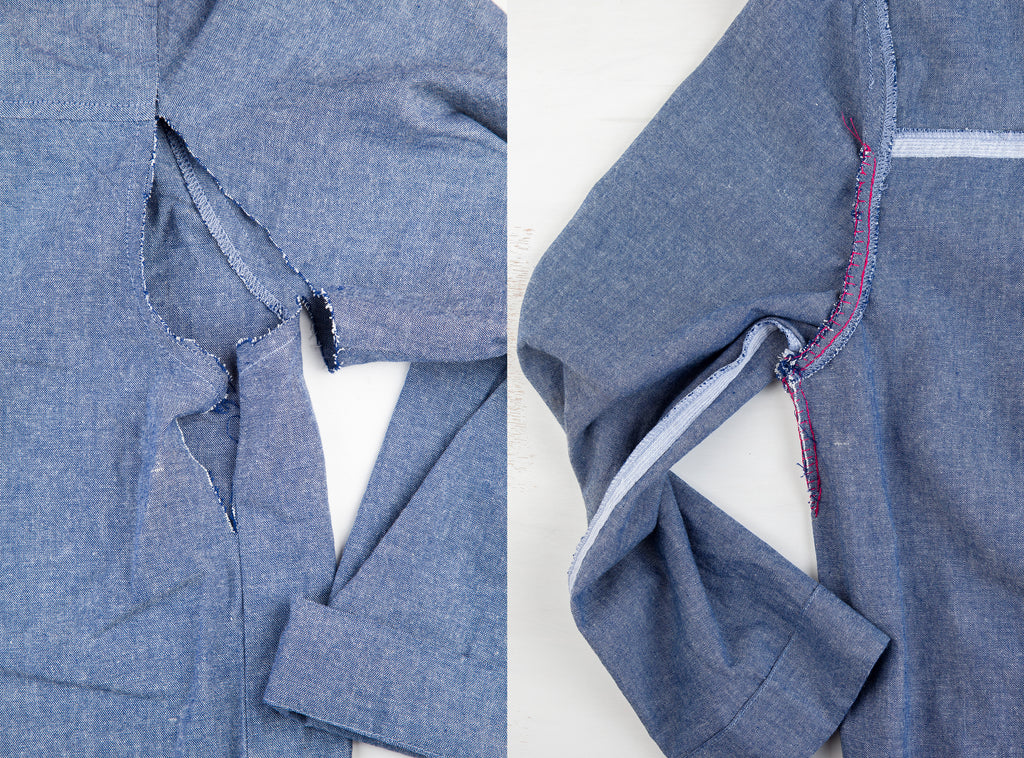
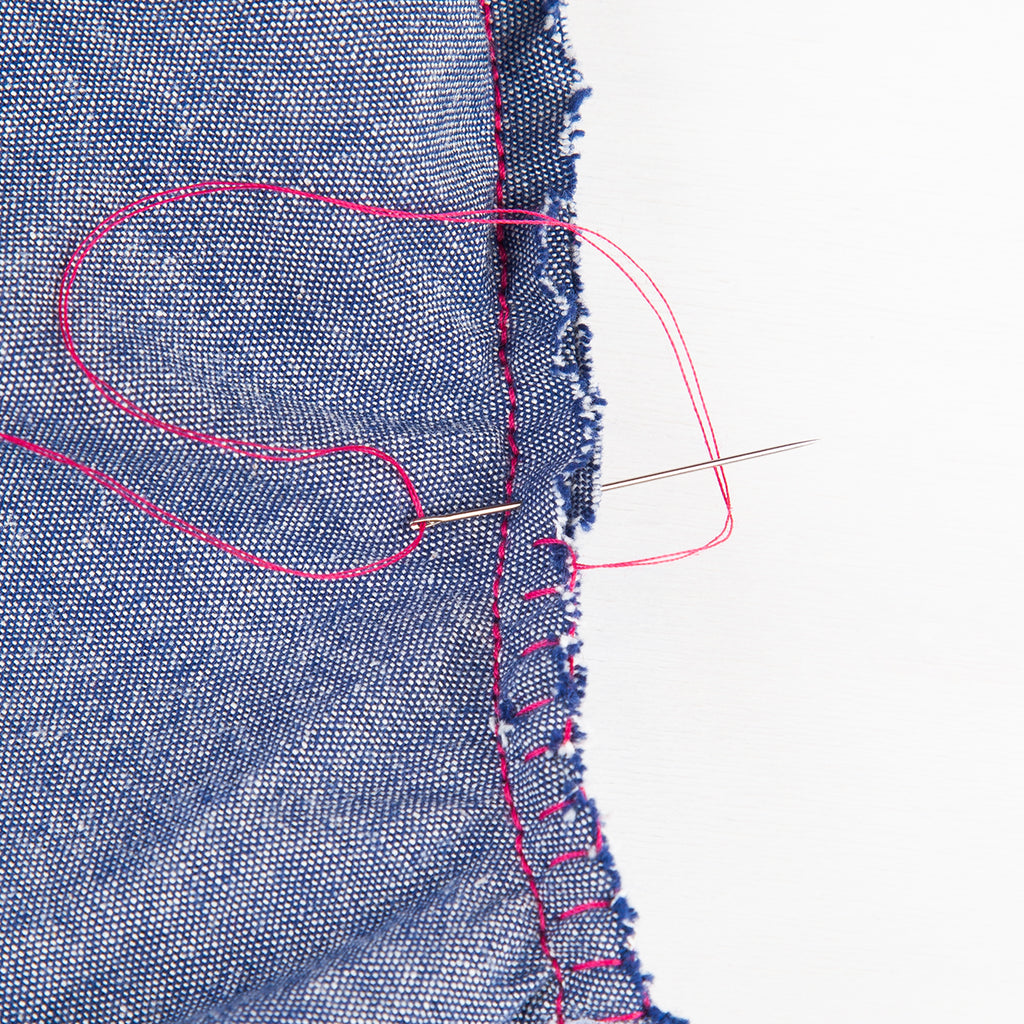 3. Finish edges. Seal the raw edges of the seam with a blanket stitch, or buttonhole stitch. To start, come up through the reverse side of the seam close to the row of backstitching and pull through. Drop the needle down a stitch length away from the previous point. As you pull the needle through make sure that the needle is above the thread, pull through. Continue this pattern to finish the seam. To end this stitch, wrap the needle around the last stitch where the thread overlaps close to the edge of the seam. Tie a few knots and tuck the thread tails in between the folds of the seam.
Tip: To further protect the raw edges of you fabric from unraveling use a seam sealant, like Fray Check. This liquid plastic seals the fabric and is washable. A little goes a long way, so just add a dab on the raw edges. Do a small test to make sure it doesn't affect the color of your garment.
Be sure to submit your #MRxFABMending entry by June 15th on instagram. I can't wait to see what you make & please let me know if you plan to give this tutorial a try!